How to set up Haas NetShare

Haas NetShare is a feature we use a ton in the shop. The ability to post gcode from any computer to any of our Haas machines saves time and effort, and while it may not seem necessary to set up NetShare once you do there really is no going back. In this tutorial we’ll set up a network drive on a Windows PC. This will act as a server that communicates between the computer you run your CAM software on and the Haas control.

This tutorial walks through how to set up NetShare on a Windows 10 PC (although setup on any version of Windows is similar) and even covers some of the “network configuration failed” or similar errors you may see. We’ll also cover a few steps that make your Windows computer running NetShare more like a server and add increased reliability.

1. Source a host computer

The first thing you’ll need is a computer to host the NetShare server. If you’re a larger shop, we recommend a dedicated computer for this (we use this small Windows PC). It doesn’t need to be anything special – we recommend wired internet, but other than that even the most basic PC will work. Not much storage is needed due to the relatively small size of gcode files, and more can always be added via a USB drive. Windows is recommended as setup is the simplest, however Mac is not much more difficult. Using a Linux based operating system is doable, but not recommended as setup is much more complicated. Small, inexpensive Windows PCs are plentiful and work great, which is why we recommend this option.

It’s also okay to use the computer you already have! Especially for smaller shops, setting up NetShare on yours or another employee’s computer is the exact same process. We prefer a standalone server just to avoid any possible network slowdowns, restarts, or other use of the computers resources that may hinder server performance due to the PC being used for something else.

2. PC Setup & Configuration

We’re going to assume you have a brand new Windows 10 machine – if not, that’s okay! These settings can still be changed on an already setup PC, and some of them are not completely necessary.

  • Bypass login on startup: This is just a preference – and if you’re setting your personal computer up as a network drive then you can skip this step as you more than likely want a password on your machine. For our dedicated server we prefer to automatically login to Windows when it restarts. This allows everything on the computer to load into Windows and while not totally necessary for NetShare can be important for other programs to run if using the PC as a full-fledged server. Take a look at this tutorial to bypass the login screen in Windows 10.
  • Power & Sleep Settings: It’s important that the PC you’re using does not go to sleep. This will periodically take down or cause issues with NetShare, so to disable it go to Settings > System > Power & Sleep and make sure that both of your sleep settings on the page are set to Never. We also set our screen settings to never as the monitor for our server is typically turned off.
  • Auto Reboot: Another step that isn’t totally necessary, but setting your server up to automatically reboot can save you from unwanted crashes or unreliability down the road. Especially with a small Windows PC resources can be used up quickly, and the longer a computer is left on the more chance there is that it will slow down, crash, or cause other issues. Setting up an automatic restart task avoids needing to manually reboot the computer because something went wrong.
    1. Open Task Scheduler – this is an app on your Windows PC, and you can find it just by searching in the Taskbar.
    2. On the right pane, click Create Task. This will open up a new window with all the task settings
    • The Title and Description here can be whatever you want. Check “Run whether user is logged in or not” and “Run with highest privileges” to ensure nothing stops the reboot process from happening, and then navigate to the Triggers tab and click New in the bottom left. This will open up a new dialogue box:
    • Set the task to begin on a schedule. This will be when and how often the computer reboots. Make sure the time you set is during downtime and not when you need to use NetShare! We set our server to reboot every night at midnight as you can see in the right above.
    • Click OK and then navigate to the Actions tab. From here click New again to open up another dialogue box.
    • The Action here needs to be “Start a Program”, and the program name needs to be “shutdown”. In the Arguments (optional) box, type “/r”. This tells Windows to run shutdown.exe (this is the same thing that happens when you press the power button!) while the argument /r tells it to turn back on and restart. Click OK, and then click OK again in the Create Task window to save your new task. You shouldn’t need to change any settings in the last tabs.
    • To test your task you can click on “Task Scheduler Library” in the left pane and select the task you just created in the center. Now in the right pane click run, and if done correctly your PC should restart. If you followed step one, your computer should automatically log in once it’s done as well.

3. Network Configuration

A few things are necessary to make sure your server will connect to other computers on the network as well as your Haas machines:

  • Setting a static IP: Computers have IP addresses that essentially are an identification number that tells the network which computer to communicate with. For example, on your computer if you want to open your documents you may go to C://Users/Your Username/Documents. But if you want to access another computer’s documents on your network the filepath looks like this: IP Address//Users/Their Username/Documents. Keep in mind this doesn’t work right away as we need to enable some permissions first, so you can’t just access any files on any computer on the network right away.
    • Before you can set a static IP, you need to know your current IP. Most of the time you will want to set your current IP as the static IP – all this does is make sure that when your computer reconnects to the internet it doesn’t get a different IP. Setting your current IP as static is a good idea because it ensures you don’t pick an address that is already in use. Open the Command Prompt on the server computer and type in “ipconfig” and press enter. You are looking for your IPv4 address, gateway, and subnet mask. It will look something like this:
    • Write these down. Usually your computer’s IP will look something like 192.168.1.x, the Subnet Mask will be 255.255.255.0, and the default gateway is the same as the IP address but the last digit is usually 1 (so 192.168.1.1).
    • Now open the Control Panel on the server computer, navigate to Network and Internet, and click Network and Sharing Center. From here you will see the names of your internet connections, and you want to click on the network the server will be hosted on. This will open an additional dialogue box:
    • Clicking Properties in the bottom left opens up yet another dialogue box. From here select “Internet Protocol Version 4 (TCP/IPv4)” and again click properties. This final dialogue box allows you to set a static IP for your PC.
    • Check the box to manually set an IP, and fill each box with the info you wrote down from ipconfig. We like to use Google’s DNS servers (8.8.8.8 and 8.8.4.4) but many DNS servers can be found with a quick Google search.
    • Note that this sets a static IP from your computer, but you can also reserve this IP address in your router for additional protection. All routers handle this differently, so if this becomes an issue consult your routers manual for instructions on how to do this.
  • Creating a Network Drive folder: you will need to designate a folder for NetShare. We like to create a folder directly in the C:// drive called NetShare, which makes the filepath as easy as IP//NetShare.
    • Once you create the folder that will act as NetShare, it will need to be shared. Even if you aren’t sharing the folder with other computers and only using it on your own you will still need to share it to communicate with the Haas control.
    • Right click on the folder you want to use and click Properties. The first tab of this dialogue box will tell you the exact location (filepath) of the folder which you will need later. Notice that this is just C:\ because the folder is directly in the C drive and it’s filepath is C:\NetShare.
    • Jump to the Sharing tab and click Advanced Sharing. Check the “Share this Folder” box in the new window, and then click Permissions. Make sure that “Everyone” has full control to read AND change.
    • Finally we need to disable the password on the folder, or else you need to log into the folder each time. To do this navigate back to the Network and Sharing Center where we created the Static IP. If you keep the NetShare Properties window open to the Sharing tab you will see a link to the Network and Sharing Center at the bottom. Using this link opens up the Advanced Sharing Settings, where you need to turn off Password Protected Sharing under All Networks. Now your folder is shared!

4. Connecting to NetShare

If your computer is the only one posting code to the Haas machine and you aren’t using a dedicated server you can skip this step. In that case all you need to do is post to the NetShare folder you created and shared in the last steps.

If you are using a dedicated server you will need to connect the server to your computer as a Network Drive. A network drive acts just like any other folder or USB drive! You can post code to the NetShare folder on the server instead of a folder on your computer or flash drive. To set up a network drive:

  • Open File Explorer and go to This PC. You may need to click on Computer in the toolbar along the top once you get there, but you should see a button to “Map network drive”:
  • Clicking Map network drive will open up another dialogue box. Here you need to input the file location of the NetShare server you created. This will look something like \\Server IP\filepath or in this case \\192.168.2.201\NetShare. Mapping the network drive will allow you to connect to the folder on your PC, and use it to post gcode to like any other folder on your PC. The only difference is that this folder is on another computer! You will need to do this process and add the network drive for each PC you want to connect to the server.

5. Connecting your Haas Machine to NetShare

Connecting your machine is the easy part! Navigate to Settings > Network > Netshare and double check all your settings. Workgroup is WORKGROUP by default, but if the server has a different workgroup then these should match. The IP needs to be the server’s IP address, the path needs to be the filepath minus the IP (e.g. \\192.168.2.201\NetShare is just NetShare in the control). We’ve found that the Remote Username and Remote Password aren’t needed if you turned off Password Protected Sharing before, but these are the username and password you would use to login to the computer and it doesn’t hurt to enter them regardless.

6. Troubleshooting

One uncommon issue you may run into if your Haas won’t connect to the NetShare drive but your PCs can is that the SMB services are not active. The below graphic from this Autodesk forum explains how to activate all SMB services from Contol Panel > Programs and Features. Make sure all SMB services are checked.

Fusion 360: Using Toolholder Solid Models in the CAM Tool Library

How to Import Tool Holder Solid Models into Fusion 360

This add-in script for Fusion 360 allows you to model or download tool holders in Fusion 360 and import them to your tool library!

Having the correct toolholder is important for verifying and simulating clearances, as well as for using the Shaft and Holder settings to automatically have Fusion 36o compensate (trimming, enabling 5-axis, etc) to maintain a minimum distance between the tool holder and your part or stock.

Credit to George Roberts for this script!

Code Download

The NYCCNC Guide to CNC Machine Coolant

CNC Coolant: The Definitive Guide!

Let’s talk about CNC Coolant – the role it performs, how to mix it, how to maintain it, and how to dispose of it!

What Coolant Does:

Coolant in your CNC machine plays three roles:

  1. Lubricating the cutting action
  2. Provides “coolant” action through transfer of heat from the part (or tool) into the cutting fluid or coolant
  3. Aids in evacuation of chips or swarf

Just as important as coolant is the water you put it in. Often, tap water is ionized or “hard”, meaning it contains dissolved minerals and other contaminants.  In general, we want as few minerals in our water as possible. The more minerals we introduce to the system, the more likely the minerals will stop the emulsifiers from working, leading to shortened coolant life.    However, the presence of some amount of minerals can help reduce foaming.  This is why some companies recommend that the initial coolant fill is done with tap water (which usually has some minerals).

When coolant evaporates, only the water evaporates; the minerals and coolant concentration do not evaporate.   If you top up your coolant tank with tap water, you will be adding  minerals to your sump over time (which will reduce your coolant life!) – this is why “top offs” are often done with purified water.

So how can you source purified water? Most shops go one of two ways: RO or DI water. RO, or Reverse Osmosis, is a handy way to treat your water as it flows through the RO membrane. However, RO systems only improve your water quality, so results are somewhat dependent on the quality coming out of the tap. Often pairing an RO system with a water softener improves both membrane life AND water quality. DI, or de-ionized water, is the way to go for larger shops. This is typically done as a service where the vendor installs the DI tanks and swaps them out as needed.

Watch out for these common mistakes!

  1. Not calibrating your refractometers
  2. Using the wrong coolant for your shop or water supply
  3. Not having a sustainable purification system
  4. Not having a maintenance schedule for your coolant and water system

Check out the tools below to check the quality of the water in your shop!

Coolants we use:

XTREME Cut 251C

QualiChem XTREME CUT 251C is a semi-synthetic cutting fluid designed to provide optimum tool life and surface finish across a wide range of ferrous and non-ferrous alloys. (Click here to download brochure)

Products:

EXAIR Chip Trapper System

The EXAIR Chip Trapper System is a great way to clean out a dirty or contaminated coolant tank. Their chip trapper vacuums coolant or other liquid into its drum, filtering out all solids and particulates into a reusable filter bag for easy cleanup. Clean, filtered coolant is then stored in the Chip Trapper’s drum for future use or disposal. We LOVE this product! It creates an easy way to clean out coolant tanks, transforming an arduous day job into a quick chore. EXAIR offers their product in three sizes, 30, 55, and 110 gallon for any size machine shop.

Tools to Check Water & Coolant:

Optical Refractometer

Our Recommended Analog Refractometer

Digital Refractometer

TDS (PPM) Meter

Digital TDS Monitor

Digital pH

Pool Strips

pH Strips (7.5-9.5)

Water System Parts:

RO System

Replacement Membrane

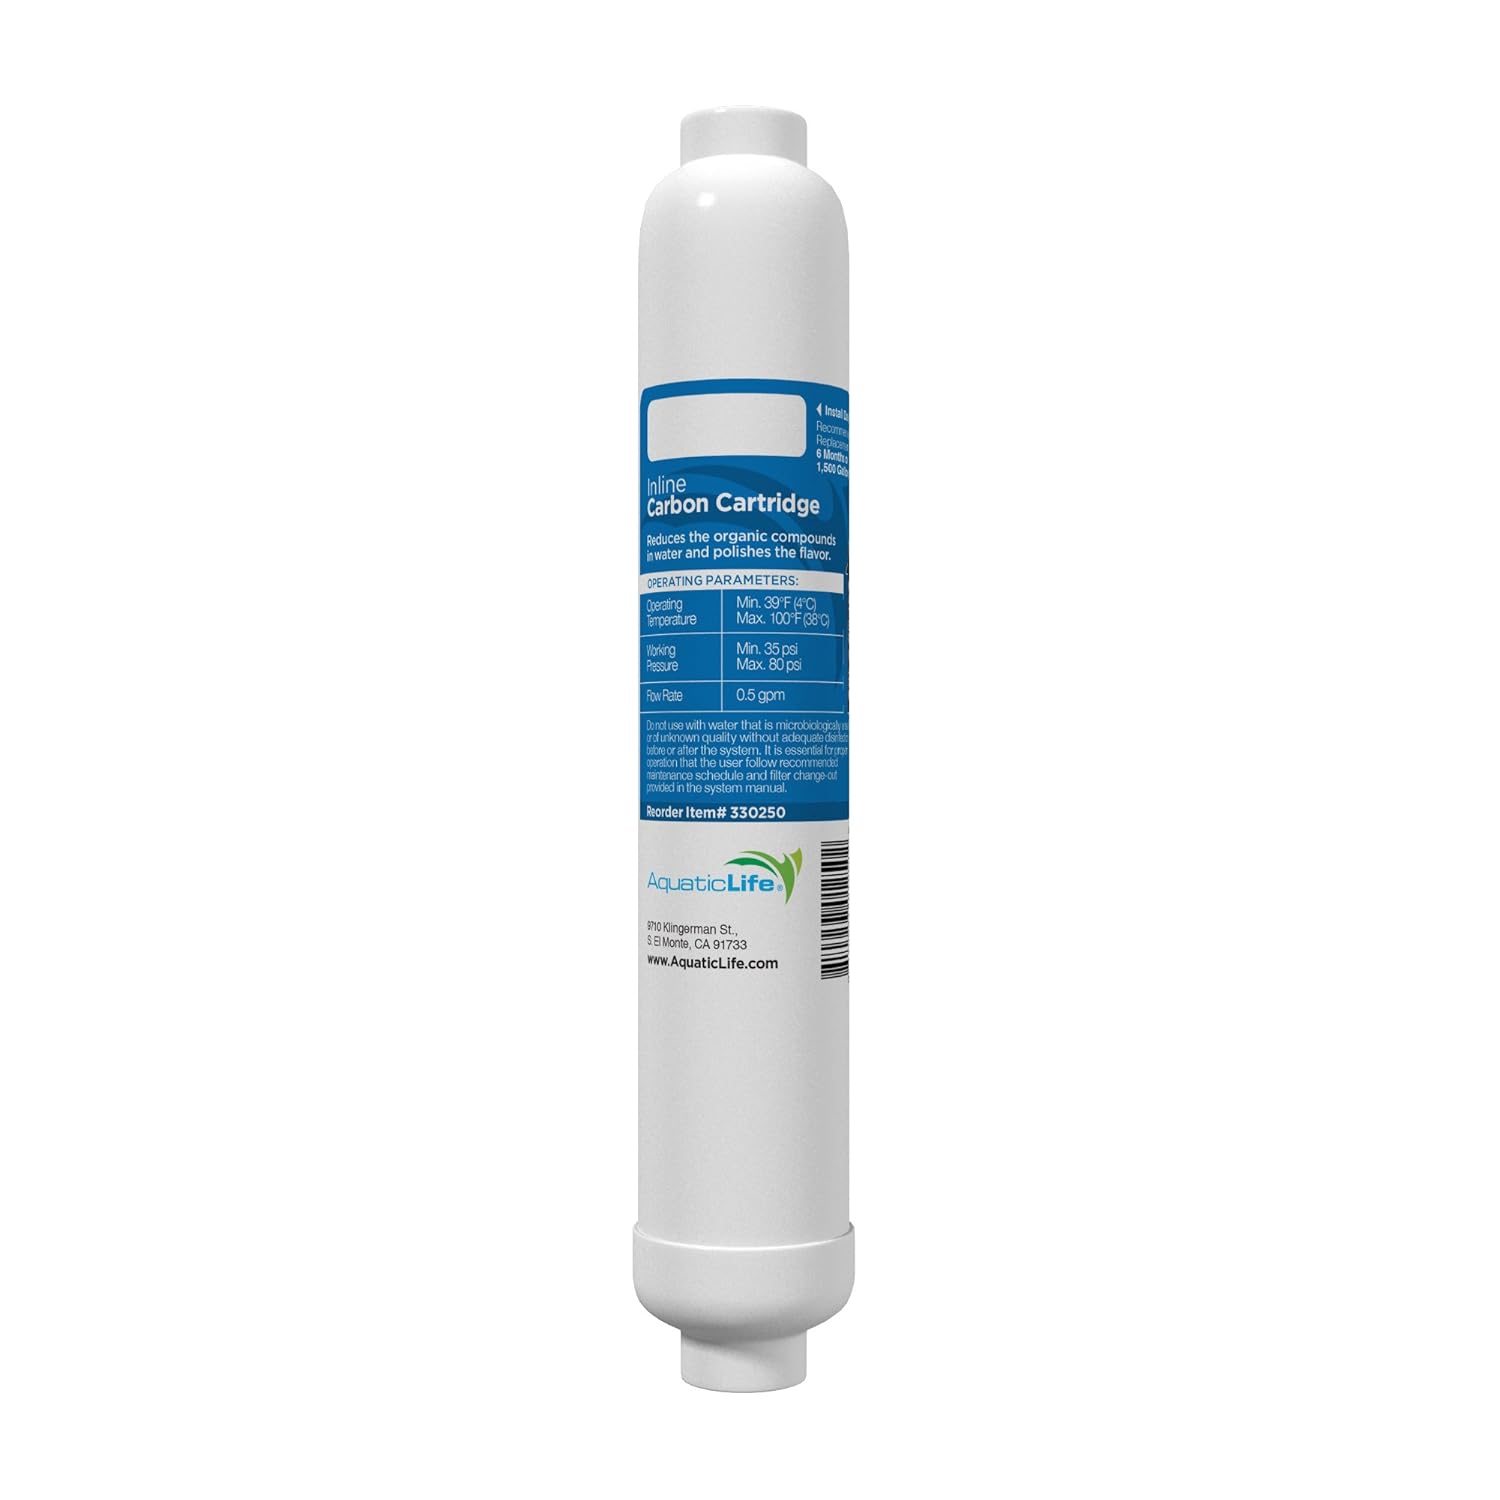
Replacement Carbon Cartridge

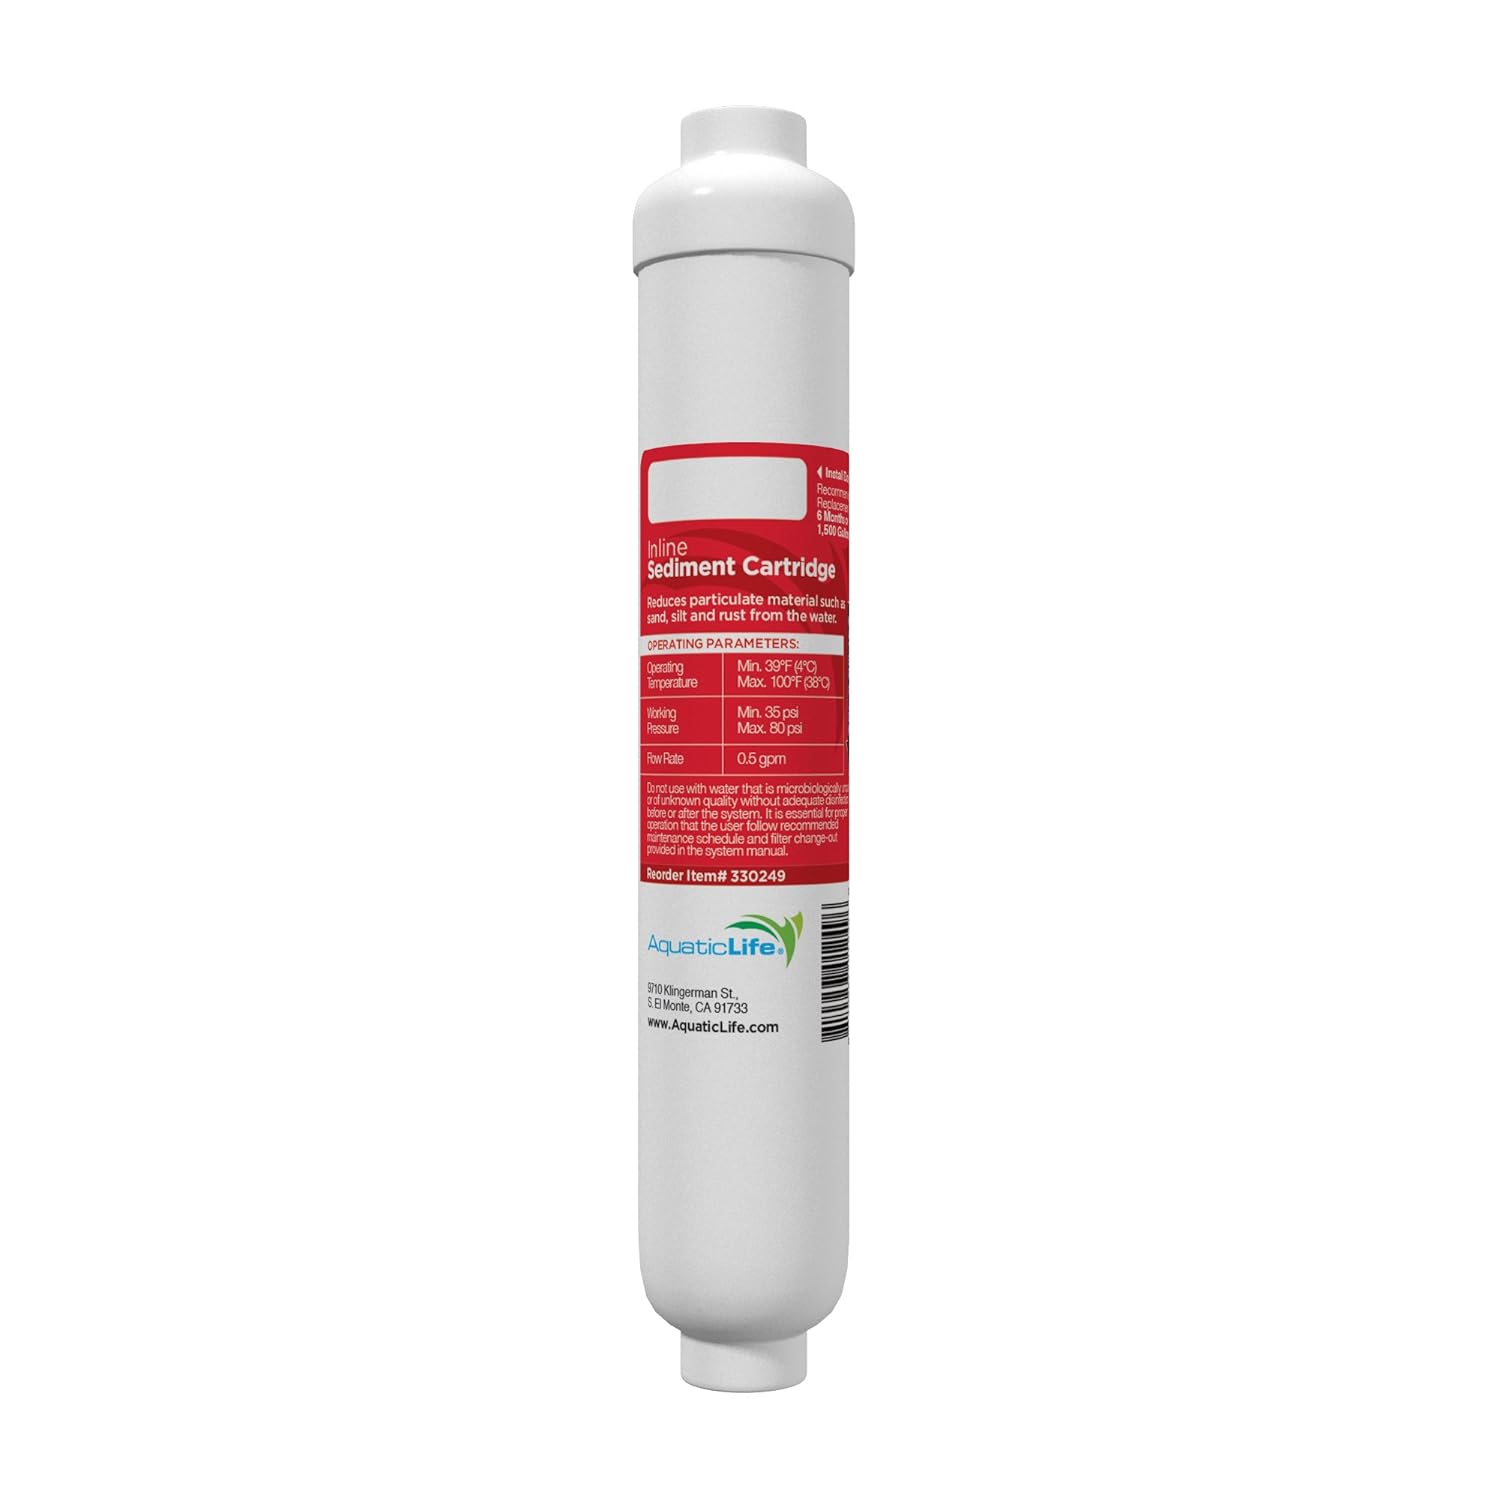
Replacement Sediment Cartridge

DI Resin Cartridge

Replacement DI Resin

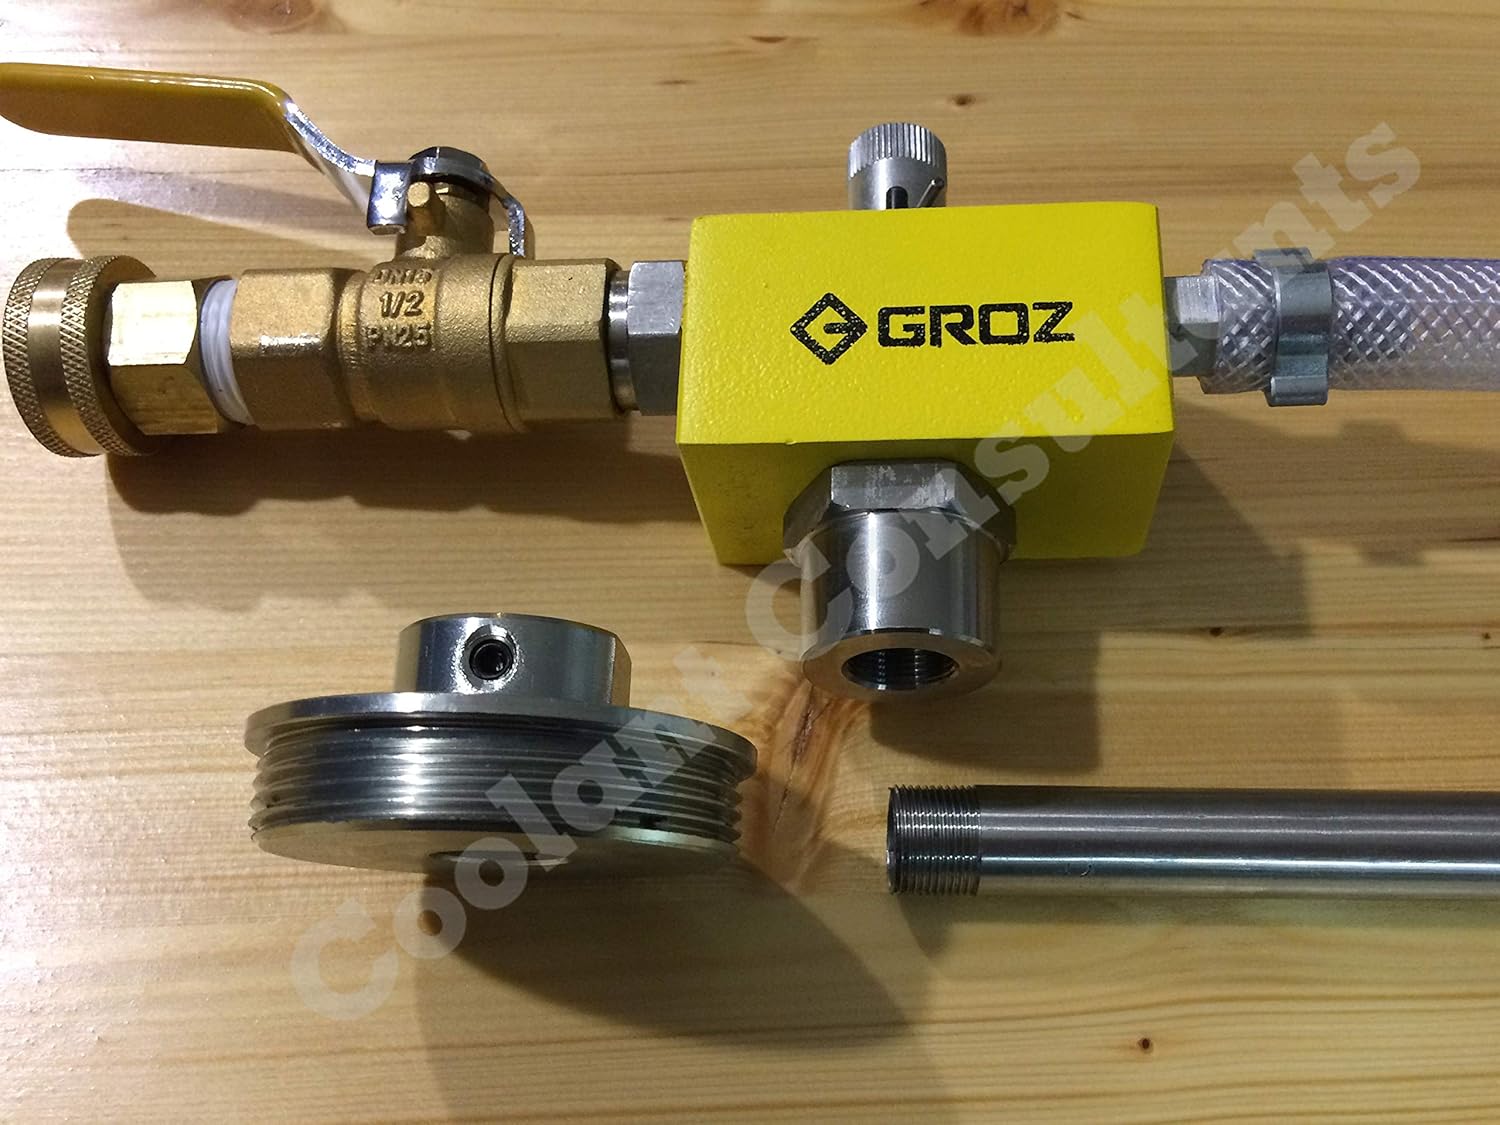
Coolant Mixer Valve

Plumbing Parts:

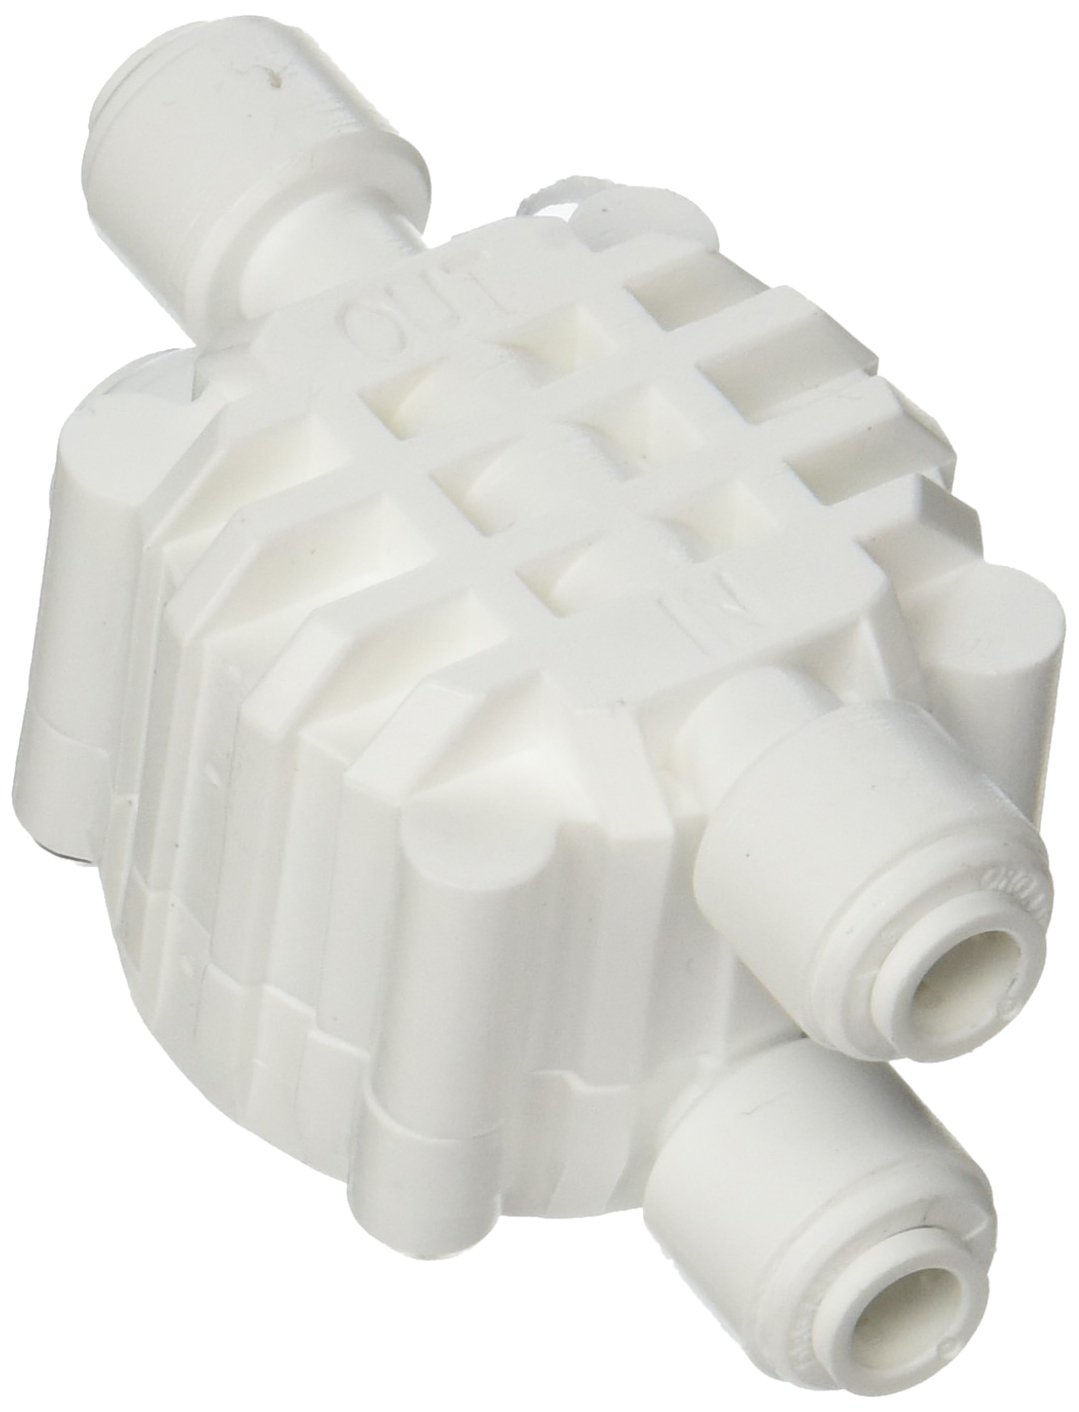
Auto Shutoff Valve

Float Valve

Check Valve

Clear Plastic Tubing

Thanks to Qualichem for providing these coolant charts and machine placard templates!

Coolant Chart Template

Placard Template

6-8 Brix Prefilled Placard

Great Business Book – The 22 Immutable Laws of Marketing!

The 22 Immutable Laws of Marketing

“There are laws of nature, so why shouldn’t there be laws of marketing?

As Al Ries and Jack Trout—the world-renowned marketing consultants and bestselling authors of Positioning—note, you can build an impressive airplane, but it will never leave the ground if you ignore the laws of physics, especially gravity. Why then, they ask, shouldn’t there also be laws of marketing that must be followed to launch and maintain winning brands? In The 22 Immutable Laws of Marketing, Ries and Trout offer a compendium of twenty-two innovative rules for understanding and succeeding in the international marketplace. From the Law of Leadership, to The Law of the Category, to The Law of the Mind, these valuable insights stand the test of time and present a clear path to successful products. Violate them at your own risk.”

Notes:

This quick-read offers 22 short chapters, each focusing on an important rule about marketing your product, service or business as an entrepreneur or business owner.  Many of the examples are reinforced with anecdotes from household name brands, from American Airlines to IBM to Coca-Cola.   The book’s direct, easy-to-implement advice about things like how to pick certain keywords and attributes for a product, how to compete against a strong competitor, and how to avoid key (and common) mistakes makes it a must-read.    NYC CNC Pro Members have access to our book notes below, showing the key takeaways and lessons to revisit.

Our Highlights, Takeaways, and Recommendations:

Looks like you aren’t a Pro Member… These members get unlimited access to tons of premium content, including helpful documents, videos, articles, our exclusive forum, and so much more! Click here to sign up!

5 Axis Machining: Getting Started

Our 5-axis Workflow:

Take a look into how we use the products below to get the full benefits of 5-Axis machining!

Our Machine:

For our first dedicated 5-axis mill, we went with the Haas UMC-750. It is an extremely flexible and capable 5-axis machine with the travels, rigidity, and horsepower to handle nearly all machining needs.

Machine Specifications:

  • Travels (XYZ): 30″ x 20″ x 20″
  • Spindle RPM (base): 8100
  • Max Power Rating (base): 30 HP
  • Spindle Taper: CT or BT 40
  • B Axis Travel: 110° to -35°
  • C Axis Rotation: 360°
  • Tool Changer: 40+1 Side Mount
  • Coolant Capacity: 75 gallon

Our Additional Options:

  • Spindle Upgrades:
    • 12,000 RPM, 30HP Spindle
    • 300 psi Through-Spindle Coolant
    • Through-Tool Air Blast
  • Belt-Type Chip Conveyor

Fixturing Solutions:

We mostly use 5th Axis  for vises and dovetails for our 5th axis / multi-axis machining workholding. Raising the part off of the machine’s platter is crucial to maintain clearance between the spindle and table as well as keeping travels and machine motion unrestricted. 5th Axis’ products utilize the RockLock system to allow you to tackle fixturing with a modular approach. This allows you to swap vises or pallet systems easily onto one of their many bases or risers, which keep the vise off of the table and allow you to configure your workholding for the clearances you need.

RL96A-4816 Riser Plate

We use this base for each of our setups. It stays mounted in place, allowing us to use the RockLock system to switch between workholding systems.

Step File Download

V562M Self-Centering Vise

This self-centering vise is our go-to vise for most 5 axis workflows.

Step File Download

V510M Self-Centering Vise

This self-centering vise has a larger clamping range for our larger parts.

Step File Download

R96-CER40 ER Collet Fixture

This fixture is a simple and rigid way to hold smaller, round parts.

Step File Download

R96-D22 Dovetail Fixture

This fixture is a rigid workholding solution with a dovetail-style clamp for increased clamping force.

Step File Download

We modified the Lathe Chuck Subplate we made in WW222 to accept four RockLock pins, allowing us to mount a lathe chuck to our 5th Axis riser plate for larger round material.

F3D File Download

RL96-MP Master Gauging Pallet

The Master Pallet is designed to be the simplest way to indicate and align 5th Axis risers and baseplates for use with the RockLock system.

Step File Download

Looks like you aren’t a Pro Member…

Pro Members get unlimited access to exclusive content, documents, our forum, and tons of other premium site content. Click here to join now!

Software & CAM:

We use three CAM setups to program our part. These make it easy to include an already created model for your fixturing setup, and can save a TON of time when working on 5 axis CAM.

In addition, CAM templates for 5th axis machining are coming soon for Pro Members!

We use Autodesk’s Fusion 360 as our primary CAD and CAM software for 5 axis machining. Fusion provides an all-in-one package that is great for collaboration. Its cloud based platform means anyone on the team can access and work on the files from anywhere, minimizing time trying to find files and jump between software packages. Fusion provides a very powerful CAM kernel with ever increasing multi-axis capabilities which make it perfect for most 5th axis CAM.

5 axis machining is incredible – but the additional two axes make avoiding crashes more difficult than your traditional three axis mill. CAMplete TruePath tries to bridge this gap with intelligent toolpath verification software that doesn’t comprimise the workflow you already have. TruePath software is designed to work with all industry-leading CAM software for toolpath verification. This software offers simulation of your specific machine and toolpath to eliminate any chance of an expensive crash. “5-axis simulation, visualization and verification tools give you the confidence of knowing how your machine will behave before you run a single line of G-code.” Click here to visit CAMplete’s website and read more

5th Axis Tabbing Strategies

Looks like you don’t have a Pro Membership… Click here to join now and get unlimited access to our Pro documents, videos, calculators, and Fusion files like our 5 Axis Setups here!

Tool Holders:

The vast majority of tool holders we use are Maritool, with a few YG-1 hydraulic tool holders in the mix. Often when 5-axis machining, rigidity is sacrificed (to an extent) for tool reach. Like the fixturing riser we use, a longer tool holder allows for better clearance between the spindle/toolholder and the table/fixture setup. Obviously some jobs require a specialty holder, but below are our general-use tool holders for the UMC-750 (this list will stay updated as we try new holders and brands!):

Tooling:

This library contains all of our core tools. These tools are general use tools that find their way into nearly every job on our UMC. Ideally, each of these tools will stay set up in their tool holders until the tool either breaks or needs replaced – saving time setting up tools before a job. This also keeps tool stickout consistent, especially critical when 5 axis machining. Keeping the tool library updated with the tools in your machine ensures that CAM simulation will be consistent and accurate – helping you avoid costly crashes.

Download Tool Library

Guide to Buying a CNC Machine

Are you thinking about purchasing your first CNC mill or Vertical Machining Center?  

Have your eyes on a HAAS VF-2 or similar type of machine? Not sure how to buy a CNC machine? Here’s our advice on negotiating the best deal and what you need to consider when buying a CNC machine!

As a Pro Member, you’ll enjoy plenty of benefits on the NYC CNC site – access to countless documents, calculators, Fusion 360 files, our forum, and plenty of Pro-Only articles (including this one!) Click here to join!

Slotting Aluminum – Tips, Tricks, Speeds & Feeds

Slotting on a CNC machine requires reliable speeds & feeds!

Using a new tool from Helical Solutions, let’s nail down recipes that work in a variety of machines. We’ll also cover best practices and tips and tricks to help solve your slotting troubles. Let us know in the comments below if this video helped you!

Tools:

Helical Solutions Chipbreak Rougher

DIY Haimer Probe Tips (CHEAP)!

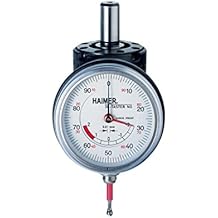
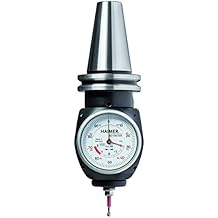
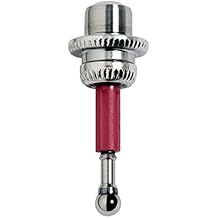
Haimer probe tips can get expensive! We wanted to bring you a cheaper, equally as functional alternative, in addition to having something we can use for our Tormach training classes. DIY probe tips can be tricky, but we have a solution that is both inexpensive and accurate!

Bill of Materials:

2mm Pencil Lead

Loctite 380 BlackMax

3D Printed Phaimer Tip

See below for details on 3D printing this part

Downloads:

It looks like you don’t have a Pro Membership… Our Pro Members get unrestricted access to all of our helpful documents, files, videos, calculators, forum, and other resources. As a standard member, feel free to download the .STEP files for this project! If you want more, click here to join our Pro Members, giving you access to the Fusion 360 file for this project including all parts and CAM with Speeds & Feeds!

3D Printed Phaimer Tip

Phaimer Assembly Jig

3D Printing the Phaimer Tip

Not everyone has a quality 3D printer just laying around – sometimes it’s just cheaper to outsource. We used ShapeWays to print the Phaimer tip for $7.50 (Less than a fourth the cost of a factory Haimer tip!) using their fine detail plastic printing. See the below photo for all the settings we used. (It is also worth noting that the price does not change with a higher quantity in the order.)

*Thread pitch for the Haimer is M3 x 0.5, 3D printed threads may need chased with a tap before use.

Don’t have a Haimer yet? Here’s where to look!

Standard Haimer

TTS-Ready Haimer

CAT40 Haimer

Factory Haimer Tips

Warren Buffett’s 10 Rules for Success

Warren Buffett’s 10 Rules for Success. What do sub sandwiches have to do with success? Well, it turns out, you can find useful information everywhere….even at a Jimmy John’s. We may not always agree with the anecdotes but overall, these are great tips. Tastes like success to me!

Our Pro Members (not one? Click here to join now!) get unlimited access to countless of our helpful NYC CNC calculators and documents, business articles and tips, and plenty of other great content! Sign up as a Pro Member now, and watch our video on these 10 Tips for Success!

1. Reinvest Your Profits

When you first make money, you may be tempted to spend it. Don’t. Instead, reinvest the profits. Buffett learned this early on. In high school, he and a pal bought a pinball machine to put in a barbershop. With the money they earned, they bought more machines until they had eight in different shops. When the friends sold the venture, Buffett used the proceeds to buy stocks and to start another small business.

2. Be Willing to Be Different

Don’t base your decisions upon what everyone is saying or doing. When Buffett began managing money in 1956 with $100,000 cobbled together from a handful of investors, he was dubbed an oddball. He worked in Omaha, not on Wall Street, and he refused to tell his partners where he was putting their money. People predicted that he’d fail, but when he closed his partnership 14 years later, it was worth more than $100 million.

3. Never Suck Your Thumb

Gather in advance any information you need to make a decision, and ask a friend or relative to make sure that you stick to a deadline. Buffett prides himself on swiftly making up his mind and acting on it. He calls any unnecessary sitting and thinking “thumb-sucking.”

4. Spell Out the Deal Before You Start

Your bargaining leverage is always greatest before you begin a job – that’s when you have something to offer that the other party wants. Buffett learned this lesson the hard way as a kid, when his grandfather Ernest hired him and a friend to dig out the family grocery store after a blizzard. The boys spent five hours shoveling until they could barely straighten their frozen hands. Afterward, his grandfather gave the pair less than 90 cents to split.

5. Watch Small Expenses

Buffett invests in businesses run by managers who obsess over the tiniest costs. He once acquired a company whose owner counted the sheets in rolls of 500-sheet toilet paper to see if he was being cheated (he was). He also admired a friend who painted only the side of his office building that faced the road.

6. Limit What You Borrow

Buffett has never borrowed a significant amount — not to invest, not for a mortgage. He has gotten many heart-rending letters from people who thought their borrowing was manageable but became overwhelmed by debt. His advice: Negotiate with creditors to pay what you can. Then, when you’re debt-free, work on saving some money that you can use to invest.

7. Be Persistent

With tenacity and ingenuity, you can win against a more established competitor. Buffett acquired the Nebraska Furniture Mart in 1983 because he liked the way its founder, Rose Blumkin, did business. A Russian immigrant, she built the mart from a pawnshop into the largest furniture store in North America. Her strategy was to undersell the big shots, and she was a merciless negotiator.

8. Know When to Quit

Once, when Buffett was a teen, he went to the racetrack. He bet on a race and lost. To recoup his funds, he bet on another race. He lost again, leaving him with close to nothing. He felt sick — he had squandered nearly a week’s earnings. Buffett never repeated that mistake.

9. Assess the Risks

In 1995, the employer of Buffett’s son, Howie, was accused by the FBI of price-fixing. Buffett advised Howie to imagine the worst- and best-case scenarios if he stayed with the company. His son quickly realized that the risks of staying far outweighed any potential gains, and he quit the next day.

10. Know What Success Really Means

Despite his wealth, Buffett does not measure success by dollars. In 2006, he pledged to give away almost his entire fortune to charities, primarily the Bill and Melinda Gates Foundation. He’s adamant about not funding monuments to himself-no Warren Buffett buildings or halls. “When you get to my age, you’ll measure your success in life by how many of the people you want to have love you actually do love you. That’s the ultimate test of how you’ve lived your life.”